Skin and Bones
Cylinder created
System – Bones (inverse kinematics).
Click on mesh.
Skin modifier – add bones to skin.
Highlight bone four.
Move the nub.

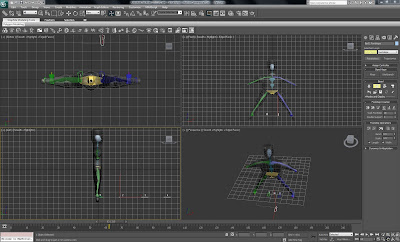
The biped and character studio is found under the systems rollout where the skeleton form may be modified under body type.
Physique
The model is placed in the Da-Vinci pose and see-through mode .
(Object properties box).

Highlight mesh – modify panel – physique modifier.
The attach node button is clicked and the pelvis is selected. Orange lines should be displayed running through the biped.
Adjusting the envelopes
Selecting the mesh and changing to wire frame mode enabling the bones to be seen clearly.
Clicking on the yellow line running through the bones will activate the envelope.
Figure mode – enables scaling of the bones to fit the mesh.
Clavicle.
Highlight mesh.
Scale.
Physique modifier.
Envelope – parameters – vertices turn red.

Envelopes affect mesh.
Biped walking
A bone is clicked on and the motion panel opens .
Under biped select ‘Footstep mode’.
Under footstep creation select ‘Create multiple footsteps’.
A dialogue box is displayed that enables several parameters to be altered including the number of footsteps. Clicking ok and the footsteps will be automatically created.
Under footstep operations the ‘create keys for inactive footsteps icon must be clicked on.

Manual footsteps may be created by selecting a bone on the biped, clicking on footstep mode.
Then under footstep creation, click on create footsteps (at current frame ) button.
Footsteps are then created by clicking in the top viewport.
No comments:
Post a Comment